How to Reduce Heat Damage From Styling Tools
Frizzy ends, a sudden snap when you run your fingers through a section of hair, strands that feel like straw no matter how much conditioner you use — heat damage has a way of showing up right when you thought your routine was working fine. It's frustrating because it doesn't feel like one clear mistake; it feels like a slow accumulation of small choices that finally caught up with you. Figuring out how to reduce heat damage from styling tools isn't really about finding one magic product. It's about doing the right things in the right order, since fixing the wrong variable first often means the damage just keeps returning.
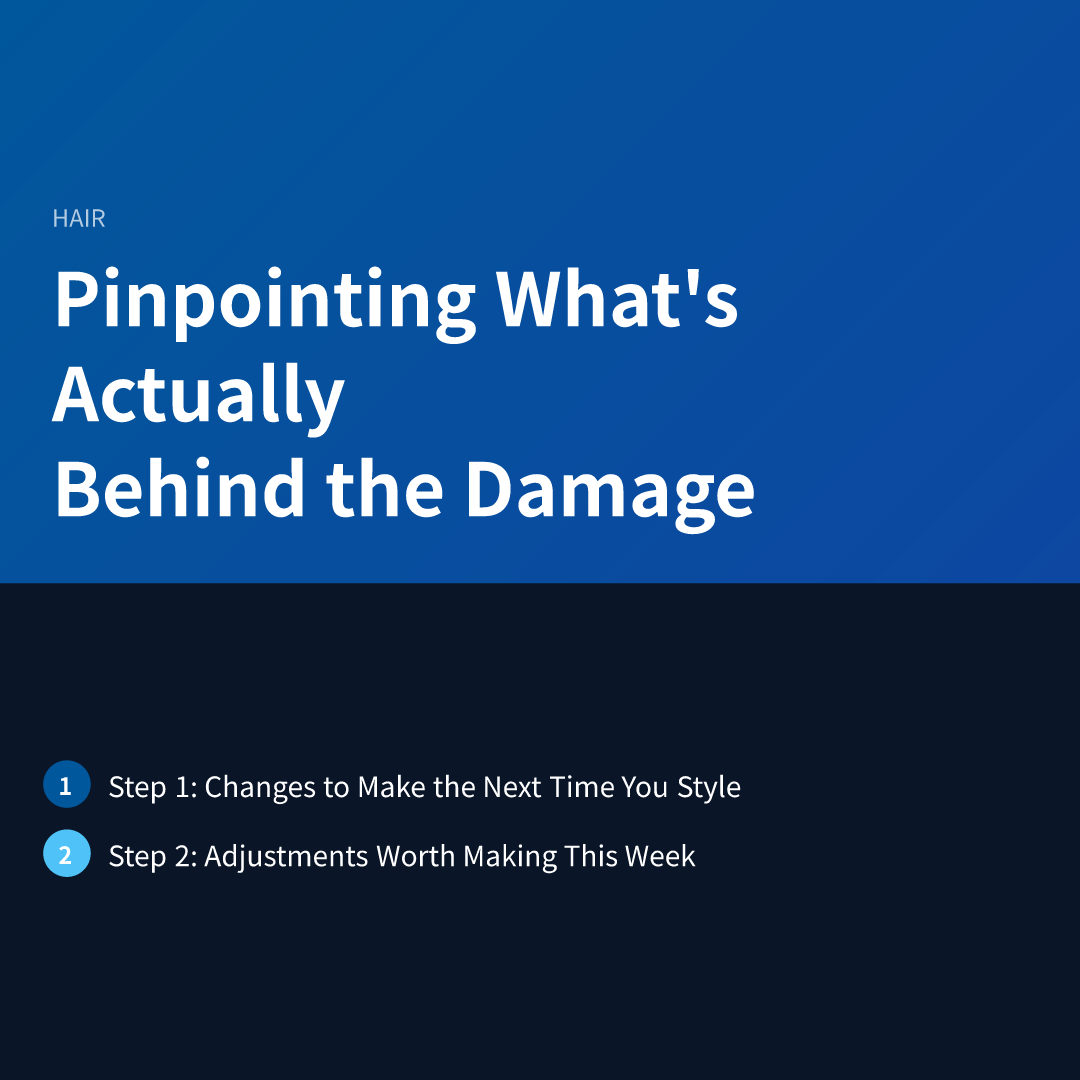
Pinpointing What's Actually Behind the Damage
Before changing anything, it helps to separate two very different causes that tend to get lumped together. One is simply using more heat than your hair can tolerate. The other is technique and tool condition — going over the same section too many times, or working with plates and barrels that have worn down and no longer distribute heat evenly. Both produce similar-looking damage, but they call for different fixes.
A short honest inventory usually points you in the right direction:
- What temperature do you actually style at, and have you ever checked it against a guide for your hair type?
- Do you apply a heat protectant every time, or only when you remember?
- Is your hair fully dry before you start, or do you sometimes style it while still damp?
- How old is your flat iron or curling wand, and have the plates ever looked scratched or discolored?
- Do you pass the tool over the same strand more than once or twice per section?
If your answers lean toward high settings, no protectant, or damp styling, temperature is likely the bigger factor. If they lean toward an aging tool or repeated passes, technique and equipment condition are probably driving more of the damage. Many people land somewhere in the middle, which just means the steps below apply on two fronts instead of one.
Step 1: Changes to Make the Next Time You Style
The fastest wins come from adjustments you can apply during your very next styling session, before any new products or tools even enter the picture.
- What: Lower your default temperature setting.
How: If you don't already know your tool's exact temperature, check the digital display or dial and compare it to guidance for your hair type — fine or color-treated hair generally tolerates lower heat than thick, coarse hair.
Why: Excess heat relative to what your hair can handle is one of the most common drivers of sudden dryness and breakage, and it's the easiest variable to adjust immediately. - What: Apply heat protectant before every session, not just some.
How: Work it through dry or towel-dried hair, section by section, so coverage is even rather than concentrated near the roots.
Why: A protectant creates a buffer between the tool and the hair shaft, though it works best when applied consistently rather than sporadically. - What: Make sure hair is fully dry before styling.
How: Wait until hair is completely air-dried or blow-dried, rather than starting on hair that still feels damp to the touch.
Why: Moisture trapped inside a damp strand can heat rapidly under a hot iron, which is often linked to sudden, localized breakage. - What: Limit yourself to one or two passes per section.
How: Divide hair into smaller sections before you start so each pass is more effective the first time, reducing the urge to go back over the same strand repeatedly.
Why: Repeated passes over the same hair multiply heat exposure in one spot, even if the overall temperature setting is reasonable.
Step 2: Adjustments Worth Making This Week
Once the immediate habits are in place, a few slightly bigger checks are worth doing within the next several days, since they take a little more time or a small purchase.
- What: Inspect your tool's plates or barrel closely.
How: Use good lighting or a magnifying glass to look for scratches, pitting, or discoloration on the surface that contacts your hair.
Why: Damaged surfaces can snag strands and create hot spots, causing uneven heat distribution even when your temperature setting is otherwise appropriate. - What: Replace a tool that shows clear wear.
How: Look for ceramic, tourmaline, or titanium coatings, which are generally associated with more even heat distribution than bare or worn metal plates.
Why: No coating eliminates damage risk entirely, but a tool in good condition removes one major variable from the equation. - What: Match your heat protectant to your hair type.
How: Choose a formula designed for fine, thick, color-treated, or chemically processed hair rather than a generic option.
Why: Different hair textures respond differently to protectant formulas, and a mismatched product may offer less real protection than expected. - What: Plan out a realistic styling frequency for the week ahead.
How: Look at your calendar and decide which days genuinely need heat styling versus days where air-drying or a simple updo would work.
Why: Spacing out heat exposure gives hair some recovery time, which matters more once you've already reduced temperature and passes.
Step 3: Habits Worth Sticking With Long-Term
The changes above address the immediate causes, but preventing heat damage from returning depends on habits maintained over weeks and months, not just a single adjusted session.
- What: Get regular trims.
How: Schedule a trim every couple of months, or sooner if you notice split ends creeping upward.
Why: Heat damage typically starts at the ends and travels up the hair shaft if left untrimmed, so trims keep existing damage from spreading further. - What: Increase how often you air-dry instead of using heat.
How: Aim to air-dry a few extra days per week rather than styling with heat every single day.
Why: Reducing overall heat exposure, even modestly, lowers cumulative stress on hair without requiring you to give up styling entirely. - What: Use deep conditioning or leave-in treatments regularly.
How: Incorporate a treatment designed for dry or damaged hair once a week or as needed based on how your hair feels.
Why: These products can help restore softness and manageability at the surface level, though they don't reverse structural damage that has already occurred. According to general public guidance from the American Academy of Dermatology, minimizing heat styling and harsh chemical treatments is commonly associated with healthier-looking hair over time, though individual results vary. - What: Reassess your tool and technique periodically.
How: Every few months, repeat the same inspection and habit check from Steps 1 and 2, since plates wear down gradually and habits can slip back over time.
Why: Consistency is what keeps how to reduce heat damage from styling tools a lasting solution rather than a temporary fix that fades after a few weeks.
When These Steps Aren't Making a Difference
If you've lowered your temperature, applied protectant consistently, addressed tool condition, and given it several weeks, but your hair still feels brittle or continues to break, it's a sign the issue may go beyond styling habits alone. Hair breaking off in clumps, a scalp that feels sore, itchy, or inflamed after styling, or damage that shows no improvement despite consistent changes are all reasons to have a stylist or dermatologist take a look in person rather than continuing to guess at home.
This is especially worth doing if you're also using chemical treatments like coloring, bleaching, or relaxing alongside heat styling, since the combined stress on the hair shaft can be difficult to sort out without someone assessing hair porosity and scalp condition directly. A professional can also confirm whether what looks like heat damage is actually related to an underlying scalp or hair health issue that styling adjustments alone won't resolve.
Disclaimer: This article is for informational purposes only and is not a substitute for professional medical advice, diagnosis, or treatment. Please consult a licensed professional for personal health decisions.