How to Use a Diffuser on Curly Hair Without Frizz
Learning how to use a diffuser on curly hair usually starts with unlearning one habit: blasting soaking-wet curls with high heat and then running your fingers through them while they dry. That approach tends to break up curl clumps, rough up the outer cuticle, and leave many people with a puffy outline instead of defined spirals. A diffuser is meant to spread airflow more gently, but the technique around it matters as much as the attachment itself.
This guide is written from an editor's point of view, not a stylist's or a clinician's. It walks through common mistakes, explains why each one tends to backfire, and offers a practical alternative. Curl patterns, hair density, and scalp sensitivity differ a lot between people, so treat everything here as a starting point to adjust rather than a fixed routine.
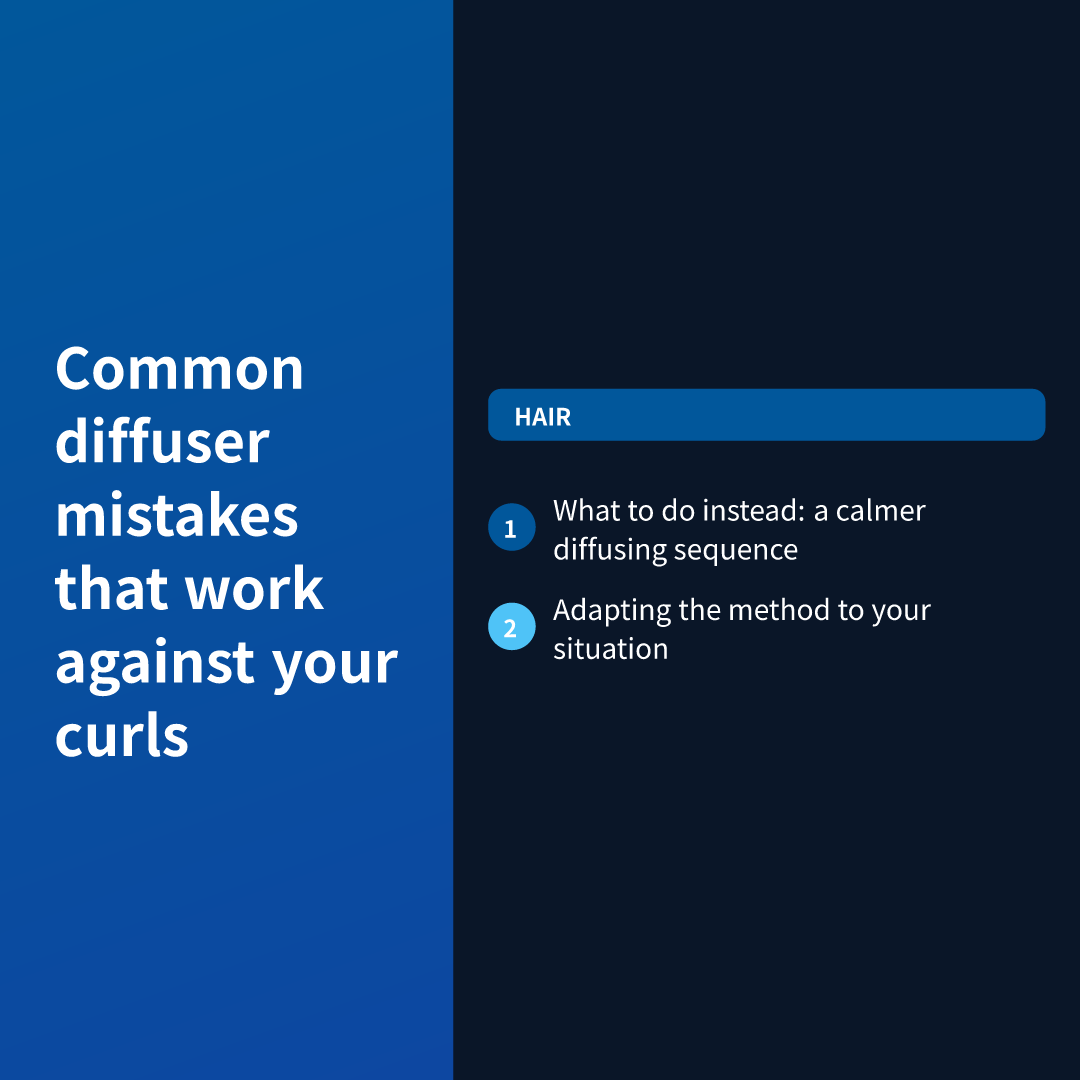
Common diffuser mistakes that work against your curls
Most diffuser frustration comes from a short list of repeat offenders. Each one below is paired with the reason it causes trouble and what you can try instead.
Mistake one: Starting with dripping-wet hair
Many people switch the dryer on right after stepping out of the shower, with water still running down their curls. The reason this backfires is simple: heavy water weight stretches curls out, and a long drying time means more total heat exposure and more chances for the hair to shift into frizz before it sets.
A gentler alternative is to remove excess water first. Gently scrunching with a microfiber towel or a soft cotton T-shirt is a common approach, because rougher terry cloth can disturb the cuticle. The goal is damp, not dripping, before any heat touches your hair.
Mistake two: Skipping styling product, or applying it unevenly
Going in with bare hair is a frequent cause of frizz, because curls often benefit from something that helps them hold their shape while air moves around them. On the other side, product dumped on in one spot can leave patches that feel stiff or greasy.
Many curl-focused routines use a leave-in conditioner, a cream, or a gel, worked through from mid-lengths to ends in sections. Follow the directions on whichever product you choose, and if you have a sensitive scalp or a history of reactions to hair products, a pharmacist or dermatology professional can help you think through ingredients.
Mistake three: Running the diffuser on the hottest, fastest setting
High heat and strong airflow feel efficient, but they can blow curls apart and leave strands feeling dry. Heat exposure is also something hair-care educators commonly flag as a factor in dryness and breakage over time, and the American Academy of Dermatology's general hair-care guidance points toward limiting heat styling where possible.
Lower heat with lower airflow takes longer, but it tends to be kinder to the hair and to keep curl groupings intact. If your dryer has a cool setting, many people use it for finishing or for sensitive scalps.
Mistake four: Moving the diffuser around constantly
Swinging the dryer back and forth, or waving it in circles, shakes the curls loose. The reason this matters is that curls dry into whatever shape they are in at that moment, so movement while they are still wet invites frizz.
The alternative is to bring your hair to the diffuser rather than chasing your hair with it. Cup sections of curls into the bowl, hold them still, and let them set before moving on.
Mistake five: Touching your hair while it dries
It is tempting to fluff, separate, and check how things are going. Unfortunately, fingers and brushes break up the curl clumps that product and airflow are trying to set. This is a big reason the dryness-then-frizz cycle repeats for so many people.
Try keeping your hands off until the hair feels fully dry. If you feel the urge to adjust, wait, because the hair often looks different once it has settled.
What to do instead: a calmer diffusing sequence
Rather than a rigid recipe, think of this as a sequence of habits that tend to protect curl definition. Adjust each step to your own texture and schedule.
Prepare the hair before any heat
Start with clean or refreshed curls, remove excess water gently, and work your chosen products through in sections. Some people like to scrunch upward toward the scalp as they apply, which can encourage curl shape. If you are unsure which products suit your hair type or scalp, a licensed professional can help you narrow the choices.
Many curl-care routines also suggest a heat protectant before any hot tool. Check the product label for how it is meant to be used, and ask a pharmacist or hair professional if you have questions about ingredients or sensitivities.
Attach the diffuser and pick a gentle setting
A diffuser is a wide attachment, often with prongs or a bowl shape, that disperses airflow across a larger area. Fit it onto the dryer according to the manufacturer's manual, and choose a lower heat and lower speed to begin with. You can always adjust upward if drying takes too long, though higher settings carry more dryness risk for some hair types.
Cup, hold, and let the curls settle
Tilt your head to the side, gather a section of curls into the diffuser bowl, and bring it up toward the scalp. Hold the position for a stretch, then release and move to the next section. This "hover" approach tends to preserve curl groupings better than constant movement.
Work around the head so each area gets attention. Crown and root areas often take longer to dry, and many people give them extra time since damp roots can flatten out later.
Finish with patience, then loosen the cast
If you used a gel, curls may feel crunchy when they are dry. That "cast" is commonly expected with some styling products and is often gently loosened by scrunching the hair once it is fully dry. Some people prefer to skip that step and keep a firmer hold. It is a personal preference, and neither choice is wrong.
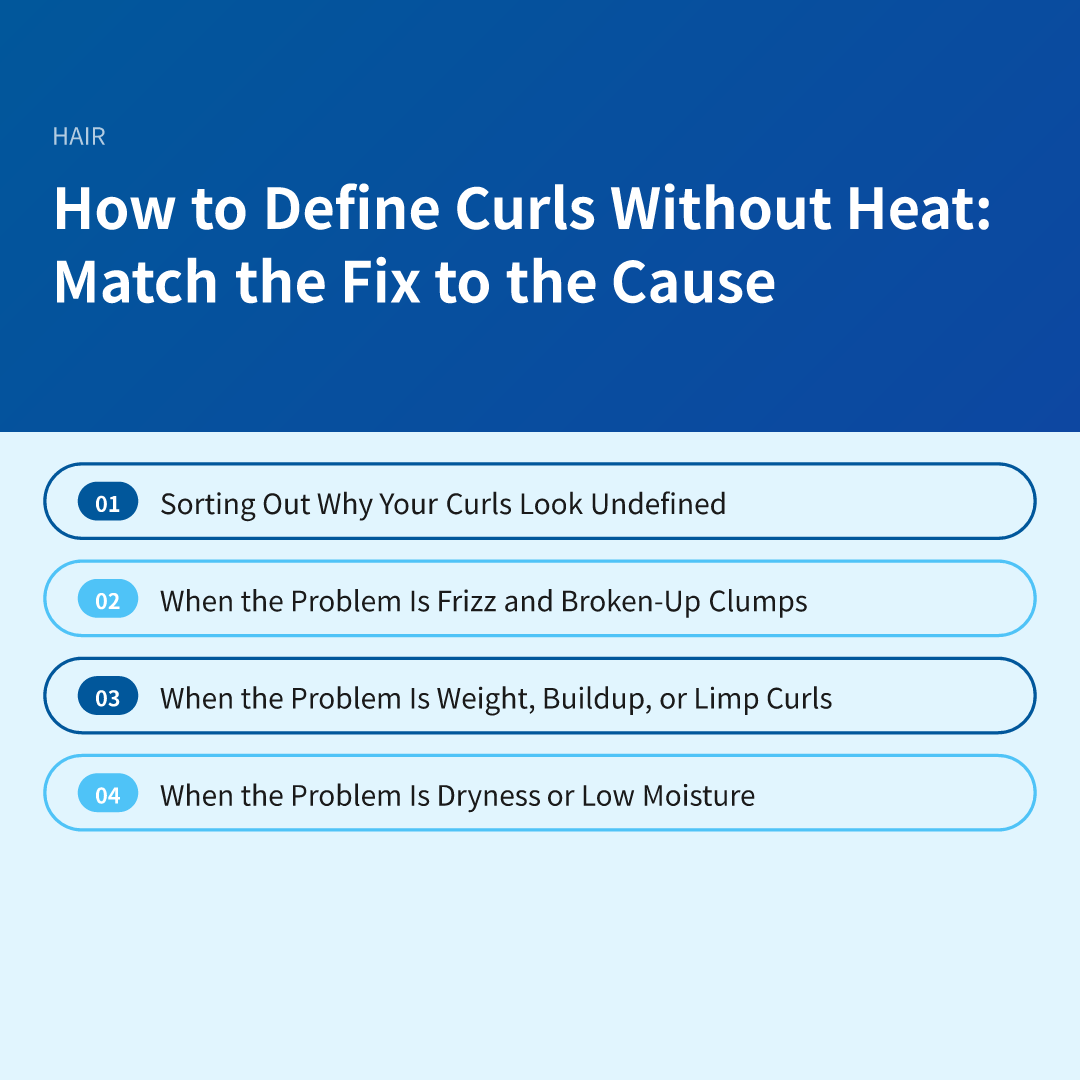
Related reading: How to Define Curls Without Heat: Match the Fix to the Cause
Adapting the method to your situation
Because curl types and routines vary so widely, a single method will not suit everyone. Here are common situations and how people tend to adjust.
Fine or low-density curls
Fine curls can be weighed down by heavy products and can lose volume quickly under strong heat. Lighter styling products and gentle airflow are often favored, and some people focus on lifting the roots with the diffuser held close to the scalp. If your hair flattens quickly, a shorter, cooler session may suit you better.
Thick or coily textures
Thicker, tighter textures often need more time and more sectioning to dry evenly. Clips can help keep sections separate, and many people find a lower heat setting more comfortable over a longer period. Because coily hair can be more prone to dryness, moisture-focused routines are common, and a stylist familiar with your texture can offer more tailored ideas.
Short hair or tapered cuts
With shorter curls, there may not be enough length to cup into the diffuser bowl. In that case, some people hold the diffuser near the hair and let air move across it without pressing, taking care not to push curls flat. A smaller diffuser or a narrower attachment can sometimes help, depending on the dryer.
When you are short on time
Not every day allows for a long drying session. Some people air-dry partway, then finish with the diffuser to set the shape. Others use the diffuser on the sections that tend to stay damp the longest. If you are pressed for time often, it may be worth experimenting on a weekend to see which shortcut your hair tolerates.
Sensitive scalp or existing skin concerns
Heat near the scalp can be uncomfortable for some people, particularly those with dryness, irritation, or conditions that affect the skin. The American Academy of Dermatology's general guidance on scalp and hair care encourages people with persistent itching, redness, flaking, or hair loss to have it evaluated rather than guess at causes. If your scalp feels hot, tight, or irritated while diffusing, it is reasonable to stop and talk with a dermatology professional.
Limits worth keeping in mind
A diffuser does not change your natural curl pattern, and results vary from person to person and from day to day. Humidity, hair health, previous coloring or chemical treatments, and even water hardness can all influence how curls dry. If you see significant breakage, thinning, or sudden changes in texture, a licensed professional can help you look at possible causes beyond styling habits.
Frequently asked questions
Is a diffuser really better than air-drying for curly hair?
Neither is better for everyone. Air-drying avoids heat but can take a long time and may leave some curls flat at the roots, while a diffuser can speed things up and add shape but involves heat exposure. Many people combine the two, and the right balance depends on your hair's condition and how it responds.
Can I use a diffuser every day?
There is no single answer, because tolerance differs by hair type, heat setting, and overall hair condition. General hair-care guidance from the American Academy of Dermatology encourages limiting heat styling where you can, so many people reserve it for wash days or use a low setting. If you notice dryness, breakage, or scalp discomfort, consider scaling back and speaking with a hair or skin professional.
Why do my curls still frizz even when I follow every step?
Frizz can come from factors that technique alone does not fix, such as humidity, dry or damaged hair, or product that does not suit your texture. It can also be a sign that your hair needs more moisture or less manipulation than your current routine provides. Trying one change at a time, such as a different product or a lower heat setting, makes it easier to see what actually helps, and a stylist experienced with curls can offer a second opinion.
Disclaimer: This article is for informational purposes only and is not a substitute for professional medical advice, diagnosis, or treatment. Please consult a licensed professional for personal health decisions.