How to Clean a Flat Iron and Curling Iron at Home
Learning how to clean a flat iron and curling iron mostly comes down to three things: unplug and cool the tool completely, wipe the plates or barrel gently with a damp cloth, and follow the maker's instructions for any stubborn residue. If your tools have started to smell scorched, leave brown streaks on your hair, or snag as they glide, product buildup is a common reason. Hairspray, serums, heat protectants, and styling creams can bake onto hot surfaces, and a little attention can make styling feel smoother again.
Most of us know the scene: you reach for a tool you use all the time and notice a sticky, yellowish film on the plates, or a faint burnt smell when it warms up. Maybe the curling barrel tugs at your strands instead of sliding. It is tempting to scrub hard or grab whatever cleaner is under the sink, and that is where tools often get damaged. The fix works best when it follows an order, so the sections below move from what to do right now to what to build into your routine.
Pinpointing the Problem Before You Clean
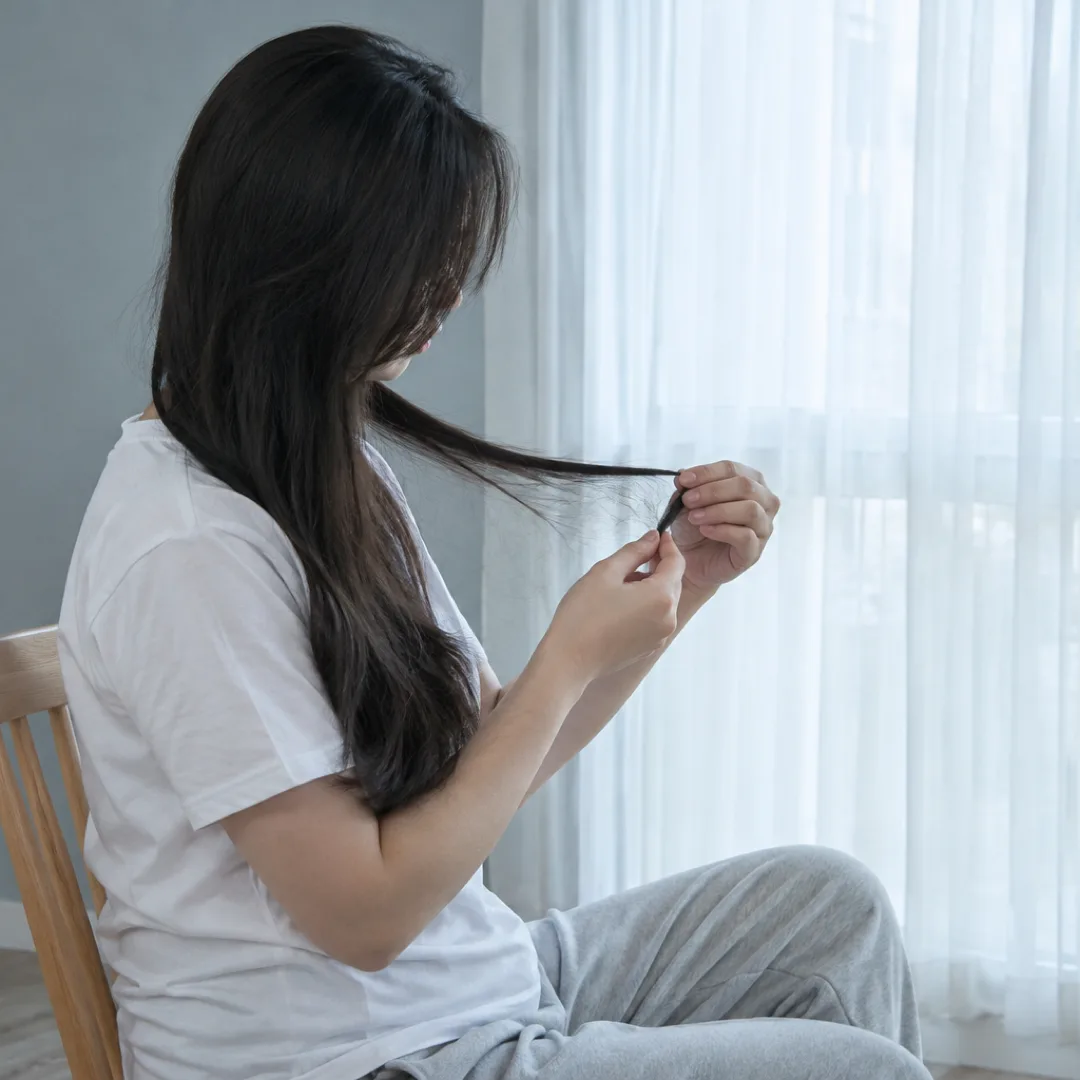
Before reaching for a cloth, it helps to work out what you are actually dealing with. Different kinds of buildup respond to different approaches, and some signs point to a tool that needs replacing rather than cleaning.
Common signs of buildup
- Sticky or tacky plates: Often caused by styling products that have heated and hardened on the surface.
- Brown or yellow film: Usually a mix of product residue and natural oils that has been heated repeatedly.
- Burnt smell: Can come from residue on the plates or barrel, though a persistent electrical smell is a different matter (more on that later).
- Snagging or dragging: Buildup can make the surface less slick, so hair may catch instead of gliding.
- Transfer onto hair: Dark streaks or flakes that show up on strands after styling.
Know your tool's surface
Flat irons and curling irons come with different surface finishes, such as ceramic, tourmaline-infused ceramic, titanium, or a coating. Coatings can be more sensitive to abrasive cleaning, so the manufacturer's care guide is the best place to learn what your specific tool tolerates. If you no longer have the paperwork, the brand's website often lists care instructions by model.
Check for damage first
Look at the cord, the plug, the hinge, and the plates. Frayed insulation, cracks, loose parts, or a cord that gets unusually warm are not cleaning problems. According to the U.S. Consumer Product Safety Commission's general safety guidance for small household appliances, damaged cords and heating tools deserve careful handling, and a damaged appliance is usually better retired than repaired at home.
Step 1: Right Now — Unplug, Cool, and Do a Gentle Wipe
The first pass is the simplest and often the most useful. It takes only a few minutes and uses items most people already own.
- Unplug the tool and let it cool fully. How: Disconnect it from the outlet and set it on a heat-safe surface until the plates or barrel are cool to the touch. Why: Cleaning a hot tool risks burns, and moisture on a hot or plugged-in appliance is a hazard.
- Set up a clean workspace. How: Lay down a towel and keep the cord away from any water. Why: It protects your counter and keeps the electrical parts dry.
- Wipe with a soft, slightly damp cloth. How: Use a cloth that is only lightly moistened with water, wring it out well, and wipe along the plates or barrel. Why: Light, fresh residue often lifts with gentle wiping, and a soft cloth is less likely to scratch the finish.
- Dry the surface completely. How: Follow with a dry, soft cloth and let the tool air out before it is plugged in again. Why: Leftover moisture should not meet electricity.
For many people, this routine is enough if it is done regularly. Residue that has been baked on for months may need a bit more care, which is where the next step comes in.
Step 2: This Week — Tackle Stubborn Residue and Handle Details
Once the quick wipe is done, you can decide whether the tool needs a deeper clean. This is also a good time to look at the parts that tend to get overlooked.
Stubborn buildup on plates and barrels
If residue stays after a damp wipe, many brands suggest a mild approach, and some sell their own cleaning products designed for their coatings. Common household suggestions you may come across online include rubbing alcohol on a cloth or a paste of baking soda and water, but whether they suit your tool depends on its coating, so it is worth checking the manufacturer's guidance first. Abrasive scrubbers, steel wool, and harsh chemical cleaners are generally discouraged because they can scratch or wear down a smooth surface. If you are unsure, contacting the brand's customer service is a reasonable next move.
A few general points tend to hold across tools:
- Work on a cool, unplugged tool every time.
- Use the lightest method first and move up only if needed.
- Keep liquid away from the hinge, vents, and cord entry.
- Avoid soaking, submerging, or running any tool under water.
Clean the parts people forget
- The cord and handle. How: Wipe with a lightly damp cloth, then dry. Why: Styling products and hand oils collect here and can make the grip slippery.
- The edges and seams of the plates. How: A cloth wrapped around a cotton swab can reach into tight spots, as long as the tool is cool and the swab is only lightly moistened. Why: Residue likes to hide where plates meet the housing.
- The clamp and tip of a curling iron. How: Wipe the clamp and the cool tip with a damp cloth, then dry. Why: Product and hair fibers can collect there, and they are often the first things to smell when heated.
- Removable combs or attachments. How: If your tool has them, check the instructions for whether they can be washed. Why: Some attachments are designed to be cleaned separately, while others are not.
Flat iron versus curling iron: small differences
Flat irons have two flat surfaces that press together, so buildup tends to show up as film on the plates and along the edges. Curling irons have a rounded barrel and often a clamp, so residue may gather around the clamp hinge and near the tip. Wands without a clamp are usually simpler to wipe because there are fewer crevices. In every case, the goal is the same: remove residue gently without harming the finish.
Step 3: Ongoing — Habits That Keep Buildup Down
Cleaning feels less like a chore when less builds up in the first place. A few routine habits can lighten the load.
- Style on dry, product-free or fully dried hair. How: Let sprays, creams, and serums dry before the hot tool touches your hair, as long as the products you use allow this. Why: Wet or tacky product can sizzle and bake onto the surface. According to the American Academy of Dermatology's general hair care guidance, applying heat to wet hair can add to damage, so drying first is commonly suggested for both hair and tools.
- Use a heat protectant product made for styling. How: Check the label and follow its directions, and ask a pharmacist or stylist if you have questions about ingredients. Why: Protectants are designed to sit on hair, but heavy layers can also leave residue on tools if they are not dried first.
- Do a quick wipe after cooling. How: Once the tool has cooled and is unplugged, a fast pass with a soft dry or barely damp cloth can catch fresh residue. Why: Fresh buildup is generally easier to remove than layers that have been heated again and again.
- Store tools clean and cool. How: Wait until the tool is fully cool before it goes into a case, drawer, or heat-resistant pouch. Why: Warm tools can transfer residue onto storage surfaces, and a clean tool picks up less dust.
- Keep hair itself clean. How: Wash on a schedule that suits your hair type, and be mindful of heavy layering of products. Why: Oil and product on the hair transfer to the hot surface during styling.
Related reading: How to Pick a Brush for Your Hair Type
Match the routine to your hair and habits
Someone who styles daily with several products will probably notice buildup sooner than someone who uses a tool occasionally with little product. Fine, oily hair may transfer more residue than dry hair, and thick layers of styling cream or spray tend to leave more behind. How often a deeper clean makes sense is a personal call based on how the tool looks, smells, and feels, and the brand's care guide may offer its own suggestions.
Safety habits worth keeping
- Never leave a heated tool unattended, and use the auto shut-off if your model has one.
- Keep cords away from sinks, tubs, and wet counters.
- Let tools cool on a heat-resistant surface, not on fabric or paper.
- Keep hot tools out of reach of children and pets.
When Cleaning Does Not Help
Sometimes a tool does not improve even after a careful wipe, and that is useful information. A few situations deserve a different response than more scrubbing.
Signs it may be time to replace the tool
- Damaged coating: Flaking, deep scratches, or exposed patches can make styling rough on hair, and cleaning will not restore them.
- Uneven heating or inconsistent performance: If the tool seems to heat in patches or temperature settings behave oddly, the manufacturer or a replacement may be the better route.
- Cord or plug problems: Fraying, exposed wire, a loose connection, or a plug that feels unusually hot are safety concerns. Stop using the tool and consider replacing it.
- Persistent electrical or chemical smell: A burnt-plastic or electrical odor that does not fade after cleaning is different from a product smell and is worth taking seriously.
- Cracks or loose parts: Damaged housing or hinges can be a hazard and are generally not suited to home repair.
When to contact the manufacturer
If your tool is still under warranty, or you are unsure which cleaning methods suit its coating, the brand's customer service can often confirm what is appropriate. They may also tell you whether a problem is covered. Keep the model name or number handy when you reach out.
When to seek professional advice about your hair or scalp
If, even with clean tools, you notice ongoing breakage, a sore or irritated scalp, burns, or sudden hair thinning, that points beyond appliance care. A licensed stylist can talk through technique and product choices, and a dermatologist or other licensed healthcare professional can look into scalp or hair concerns that do not settle down. Burns from a hot tool that blister, look severe, or do not heal as expected should be checked by a healthcare professional, and the American Academy of Dermatology and similar medical organizations offer general guidance on when burns need medical attention.
In short, knowing how to clean a flat iron and curling iron is mainly about being gentle, patient, and consistent, while recognizing the point where replacement or professional input makes more sense than another round of scrubbing. Results vary from tool to tool, so the maker's instructions and a trusted professional are the most reliable guides for your specific situation.
Frequently asked questions
Can I clean my hot tools while they are still warm?
No, if the tool is still warm, it is better to wait. As described above, the tool should be unplugged and fully cooled first, because cleaning a hot surface risks burns and moisture should never meet a plugged-in appliance.
Do flat irons and curling irons need different cleaning methods?
The basic approach is the same, but the trouble spots differ. Flat irons tend to collect residue on the plates and edges, while curling irons often hold buildup around the clamp and tip. If your tool has a coating, the manufacturer's care guide is the safest way to confirm which cleaning products it tolerates.
What if the burnt smell does not go away after cleaning?
If the smell is a faint product odor, it may fade as residue is removed. If it stays and reads as electrical or burning plastic, it may point to a problem with the tool itself, so stop using it and consider contacting the manufacturer or replacing it.
Disclaimer: This article is for informational purposes only and is not a substitute for professional medical advice, diagnosis, or treatment. Please consult a licensed professional for personal health decisions.