How to Clean a Hairbrush Without Damaging It
The most common way people clean a hairbrush is to pull out the visible hair, give the bristles a quick rinse under the tap, and set it down on the counter. That habit tends to backfire because it removes only the top layer of buildup and leaves oils, product residue, and trapped moisture behind. Knowing how to clean a hairbrush properly means matching the method to the brush material, and it usually takes only a few minutes with items you already own.
A brush works like a small collector. Every pass through your hair can pick up loose strands, natural scalp oils, dust, styling product, and flakes of dry skin. Those materials stack up around the base of the bristles, where you cannot easily see them, and they can end up back on your hair the next time you brush. Below, the usual mistakes are paired with the reasoning behind them and a more practical alternative.
Common mistakes that make a dirty brush worse
Mistake one: pulling out only the hair you can see
Lifting the loose hair off the top is a good start, but it is not a full clean. The fine film underneath, made of oils and product, stays packed around the bristle base. That film can make a brush feel sticky and may transfer residue to freshly washed hair.
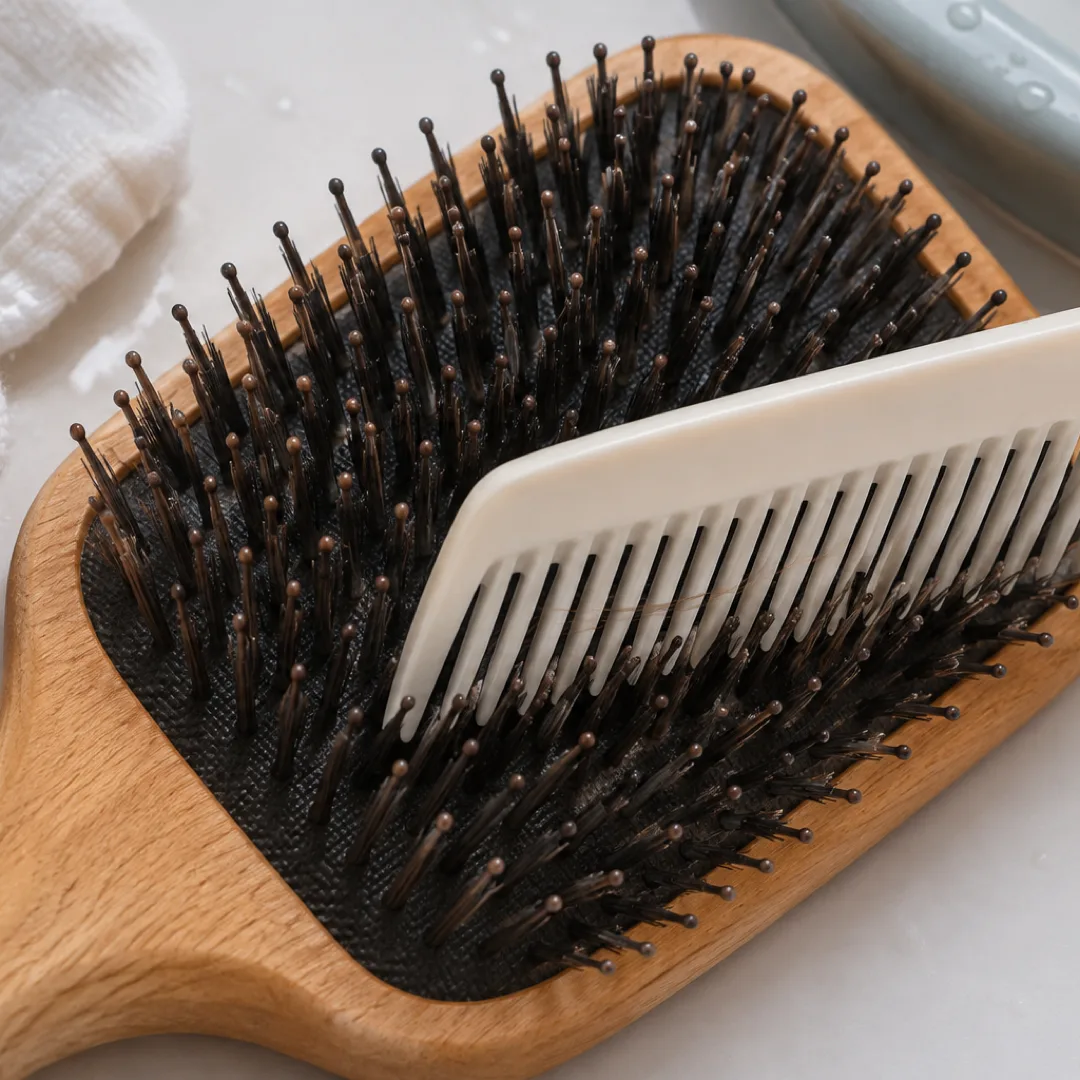
A better approach is to treat hair removal as step one rather than the whole job. Slide the teeth of a comb or the tip of a pointed tool along the rows to lift the tangled strands, then move on to a real wash. This is especially useful for brushes with dense bristles, where hair wraps tightly around the base.
Mistake two: soaking every brush completely
It is tempting to drop any brush into a sink full of water and walk away. Water can soak into wooden handles, loosen the glue or cushion pad in some paddle brushes, and leave moisture trapped where it cannot dry. Over time, wood can swell or crack, and a damp cushion base may develop a musty smell.
For brushes with wooden handles, cushioned rubber pads, or natural boar bristles, a gentler approach tends to work better. Wipe or lightly dampen only the bristle area, keep the handle and the back of the pad out of the water, and let the brush dry with the bristles facing down. Plastic and nylon brushes with solid bases are generally more forgiving of a longer rinse.
Mistake three: using harsh or very hot products
Some people reach for strong cleaners, bleach, or hot water in hopes of a deeper clean. Heat can warp plastic and soften the adhesive in many brushes, while strong chemicals may damage bristles, finishes, and handles. Harsh products can also leave a residue that you then pass through your hair.
A mild shampoo or gentle liquid soap with lukewarm water is the usual starting point for most brushes. It is designed to break up oils and product film without the roughness of household cleaners. If you have a sensitive scalp or a skin condition, a pharmacist or dermatologist can help you choose products that suit you.
Mistake four: cleaning too rarely, then too aggressively
Many people ignore a brush for months and then scrub it hard when the buildup finally gets obvious. Heavy scrubbing can bend bristles, scratch finishes, and pull cushioning loose. Waiting that long also means your hair has been in contact with the buildup for a long time.
A small, regular habit is easier on the brush than an occasional deep scrub. Removing trapped hair after most uses and doing a quick wash every so often keeps buildup from getting stubborn. How often is right depends on how much product you use, how oily your scalp is, and how many people share the brush.
Mistake five: drying a brush flat or in a closed space
Leaving a wet brush face-up on a counter or tucked into a drawer lets water pool in the base. Trapped moisture is what encourages odor and can make the cushion deteriorate faster. A brush that never fully dries is more likely to feel grimy again quickly.
Setting the brush bristle-side down on a clean towel, or propping it so the head angles downward, lets water drain out instead of settling in. Choose a spot with some airflow, and avoid direct high heat such as a hair dryer on a hot setting, which can affect plastics and adhesives.
What to do instead: a simple cleaning routine
Once you know what tends to go wrong, the method itself is straightforward. The steps below suit many standard plastic or nylon brushes, with notes for other types later on. The general idea is to loosen debris, break up oils, rinse gently, and dry well.
Step one: remove trapped hair
Begin with a dry brush. Use the tail of a comb, a pencil tip, or a small pair of scissors to lift and snip the hair wrapped around the base of the bristles, then pull it away. Take your time here, since gentle lifting is less likely to bend bristles than tugging.
Step two: loosen oils and product film
Fill a bowl or sink with lukewarm water and add a small amount of mild shampoo or gentle soap. Swish the bristle area through the soapy water, keeping the handle out when it is wood or has a cushion that should stay dry. A soft toothbrush can help clear the gaps between bristles and the base.
Some people add a little baking soda or diluted white vinegar to the water for stubborn residue. These are common household tips rather than official recommendations, and they may not suit every brush finish, so test on an inconspicuous area first. If your brush came with care instructions, those take priority over general tips.
Step three: rinse and shake out
Rinse the bristles under lukewarm running water, pointing the brush so water flows away from the handle. Gently shake out the excess, then press the bristles against a clean towel to absorb extra moisture. Check that no soap film remains, because leftover suds can leave your hair feeling coated.
Step four: dry thoroughly
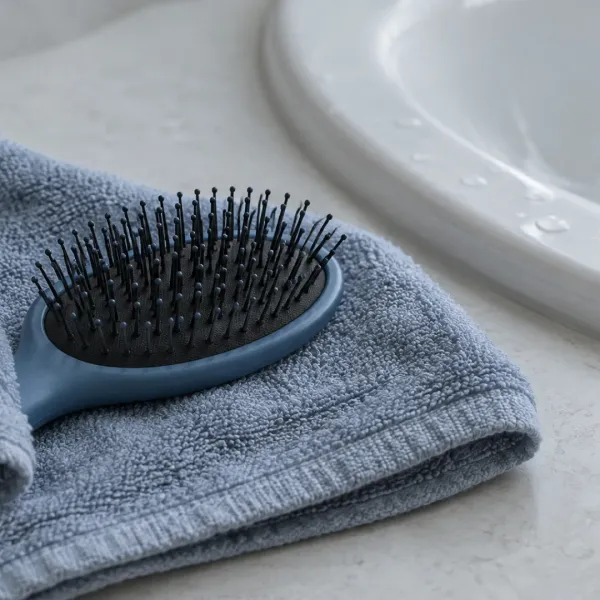
Lay the brush bristle-side down on a dry towel or prop it at an angle with the head tilted downward. Let it dry fully in open air before using it again. A brush that feels even slightly damp at the base should wait longer.
Related reading: Safe Flat Iron Temperature Basics for Every Hair Type
Adjusting the method for different brushes and situations
Wooden-handled and boar bristle brushes
Natural bristles and wood generally prefer less water. Many care guides from brush makers suggest working with only a small amount of mild cleanser on the bristles and keeping the wood from soaking. Wiping the handle with a slightly damp cloth, then drying it, is typically enough.
Cushioned paddle brushes
The rubber pad under the bristles is the part most likely to hold water. Instead of submerging the brush, rinse the bristle surface lightly and tilt it so water runs off the pad. Some cushion bases have small air holes, and those need extra time to dry. If the pad has begun to peel, crack, or smell persistently musty, it may be time to replace the brush.
Round brushes and heat-styling brushes
Round brushes often hold hair wrapped tightly around a barrel, and some have metal cores that retain heat. Let a brush that was just used with a blow dryer cool completely before washing it. Hair removal usually takes more patience here, so a comb tail or small tool can help.
Shared brushes and scalp concerns
If several people use the same brush, or someone has a flaky or irritated scalp, a cleaner brush matters more. The American Academy of Dermatology general guidance on hair care notes that sharing personal items such as combs and brushes can spread certain scalp conditions, which is one reason many people keep their own. If you notice persistent itching, redness, scaling, or hair loss, a dermatologist or other licensed professional can help work out the cause rather than leaving the brush as the only suspect.
Brushes used with heavy styling products
Gels, sprays, serums, and dry shampoo can leave a visible film on the bristles. Buildup like this often needs a little more time soaking the bristle area in soapy water and a soft brush to clear the spaces. Rinse well afterward so no cleanser residue stays behind.
Related reading: How to Choose a Conditioner for Your Hair Type
Knowing when to replace instead of clean
Cleaning cannot fix every problem. Bent or missing bristles, a cracked handle, a loose or crumbling cushion, or a smell that returns right after washing are common signs that a brush has reached the end of its useful life. Replacing it is often easier on your hair than continuing to use a worn one that snags or pulls.
Frequently asked questions
Is it really necessary to clean a hairbrush if I wash my hair often?
Yes, it is still worth cleaning, because frequent shampooing does not stop a brush from collecting hair, oils, dust, and product. A clean head of hair can pick up that residue again the moment it meets a dirty brush. The routine does not have to be elaborate, and a regular quick clean is usually enough for most people.
Can I put my hairbrush in the dishwasher or washing machine to save time?
It is generally not advised, since high heat, strong detergents, and tumbling can warp plastic, loosen bristles, and damage handles or cushions. Many brush makers recommend hand washing with mild soap instead. If you are unsure about a specific brush, check the care instructions that came with it or contact the manufacturer.
Does cleaning my brush actually help my hair or scalp?
A cleaner brush may help your hair feel less weighed down by old residue, though the effect varies from person to person and depends on your hair type and routine. It is not a treatment for scalp or hair conditions. If you have ongoing irritation, shedding, or other concerns, a licensed professional can offer guidance that a cleaning routine cannot.
Understanding how to clean a hairbrush comes down to avoiding a few shortcuts, such as skipping the base, over-soaking delicate materials, and drying it badly. Choosing a gentle method that fits your brush type tends to protect both the tool and your hair over time.
Disclaimer: This article is for informational purposes only and is not a substitute for professional medical advice, diagnosis, or treatment. Please consult a licensed professional for personal health decisions.